Wednesday, June 27, 2012

REMODELING THE REMODEL JOB

Today I started tearing out the bathroom.  We knew that there would be some “issues” judging from the electric tape around the pipes, massive caulk beads around the baseboards and a general “bouncy” feeling as we walked across the floor.  As I started the demo I quickly realized the extent of the water damage- here are some pictures as I worked through the tear out;


The bright spot was that the demo wasn’t as bad as I expected.  The tile floor was sitting on about 2” of concrete spread over wire mesh so I could pull it out in sizable chunks.  After this layer was removed I easily peeled up the original linoleum which matched what is in the laundry room.  The shower wall came off even easier- they must have been installed relatively recently because the tile was glued to Wonderboard which has only been around for about the last 20 years.  In addition, the contractor only used about 6 nails per section so I was able to pry away the entire wall and cart it off almost intact.  After everything was stripped down I was happy to find that there was no damage to the tub surround area however the sections around the toilet and sink were completely destroyed.  While I could have easily run plywood over everything as a quick fix, I decided to correct everything by scabbing in new floor joists, replacing the rotted sections of 1x8 subfloor and covering the whole floor with ¾” T&G OSB.  I made it half way through the 1x8’s when I just ran out of gas and decided to resume work tomorrow.  Here are some end of day shots;


Tomorrow’s agenda will be to finish the subfloor and install the ¼” Hardi board which will be the surface for the eventual tile.  After this is completed I hope to pick up the tub and hardware so we can at least have a functioning shower by the end of the night! 

Also, as a sidenote, there was a chair rail installed at some point in the bathroom.  As I was ripping it out today I noticed that it must have been put up by a real carpenter- all of the joints were coped which means that the installer traced the profile of the adjoining piece and cut it to match by hand.  For those not familiar with trim work, this type of installation is an art!  Even with laser guides, fancy jigs and expensive tools, I still cannot properly cope a piece of trim without wasting a hundred feet of lumber.  This discovery made me think of my late grandfather who was a trim carpenter by trade- he could do these types of cuts in his sleep!  Here is what I am talking about- notice the piece on the left;


PS, before I forget, I got a couple emails asking what the finished bedroom floor looked like before we moved in furniture so here is a picture;


NEW BLOG FEATURE: “CC’S CORNER”!
Being that my girlfriend finally joined me in Nashville last week, I thought it would be informative to hear her side of Project NashVegas!  Therefore I present to you a new and hopefully frequent addition to the blog- “CC’s Corner”;

 CC’s CORNER- “OUT OF THE CAMPER!”

JM decided to add a spot on the blog called “CC’s corner” where I (CC) get to comment a little about this exciting adventure we are on – because really although JM is doing all of the work, I am right there in the dust and drying paint experiencing the other side of flipping a house: living in the house AS it is flipped.  
It actually could not be more fitting of a night to start given tonight is the first night OUT OF THE CAMPER!!!!!!!  To prevent my exuberant excitement from waking most of my loved ones – given they are all on east coast time and an ill timed phone call or text message would awaken most (it’s now 11:05 pm) – I am taking to the blog to cry out my excitement! WE ARE OUT OF THE CAMPER! If I was not freshly showered and lying next to my exhausted but extremely happy dog, I would be running down the streets and shouting for joy!  It is not that the camper is all that bad.  The main issue is not having all of my “stuff” – or even the “stuff” I do have organized in any sort of accessible manner.  Instead, things are cramped in a drawer here or a corner there in the camper. And believe me, there are not many corners in a camper.

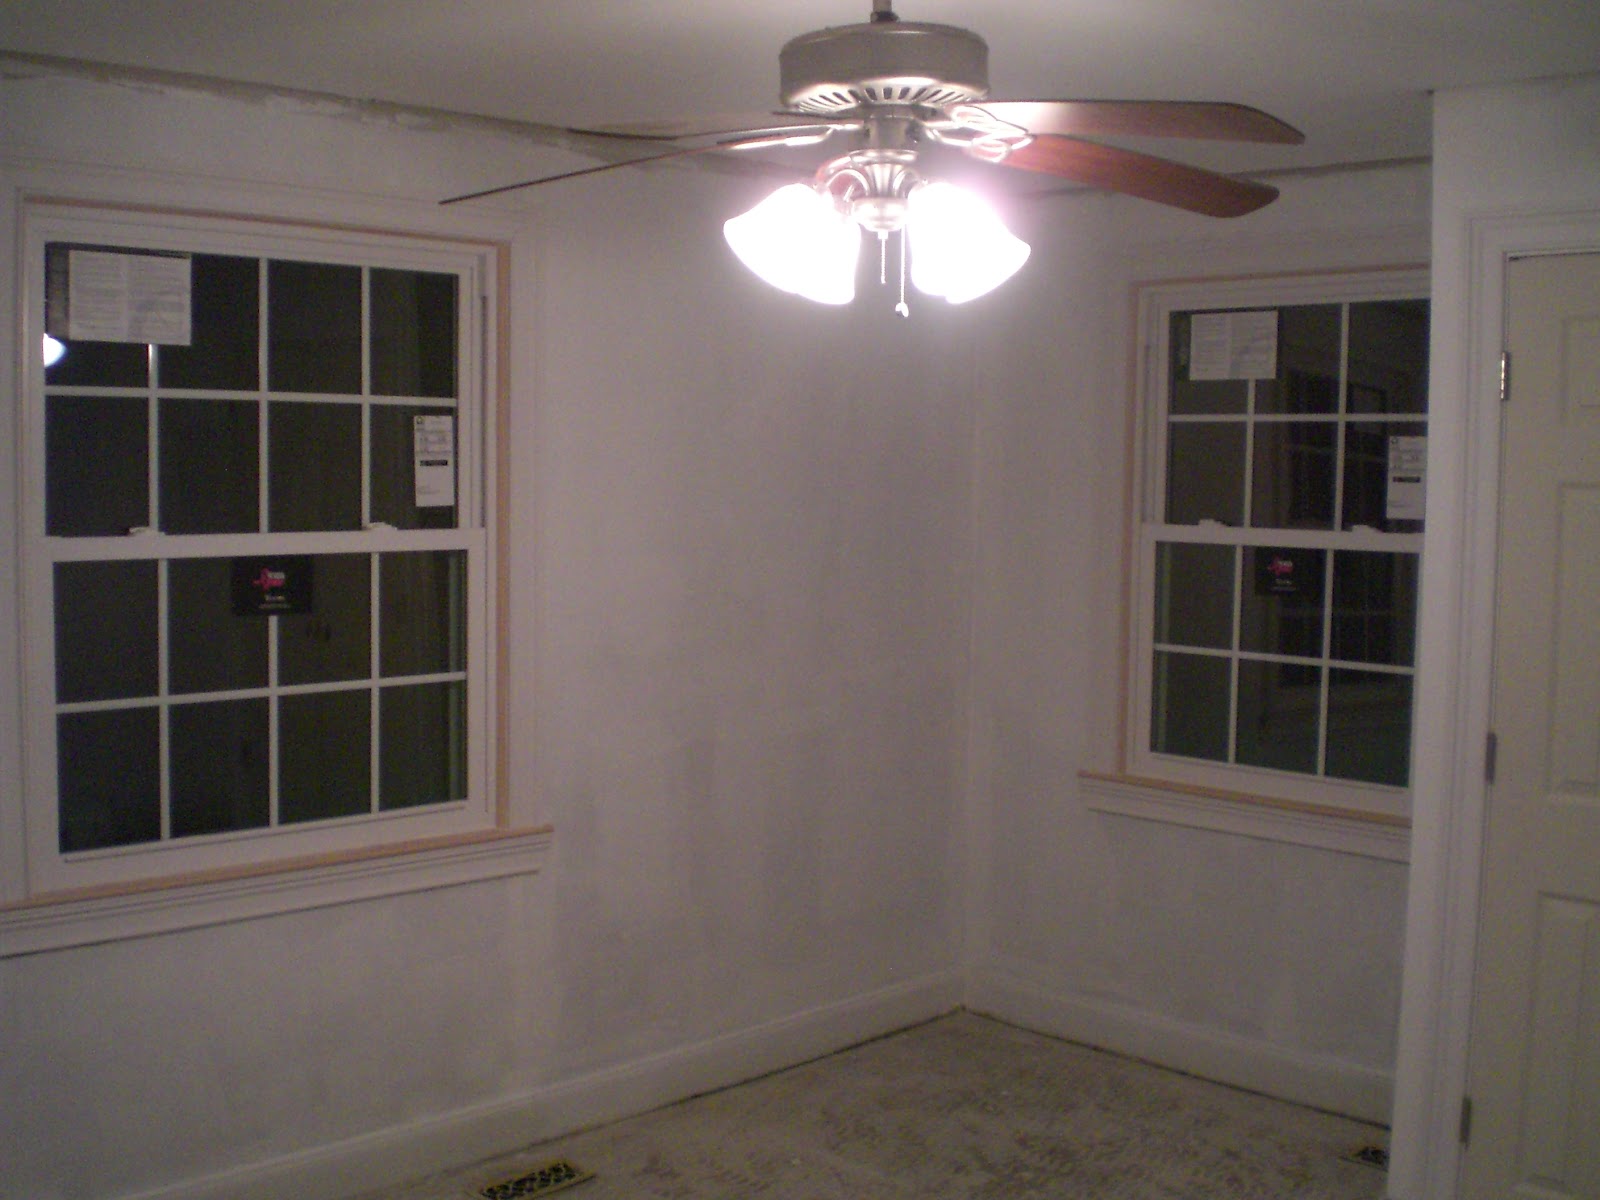
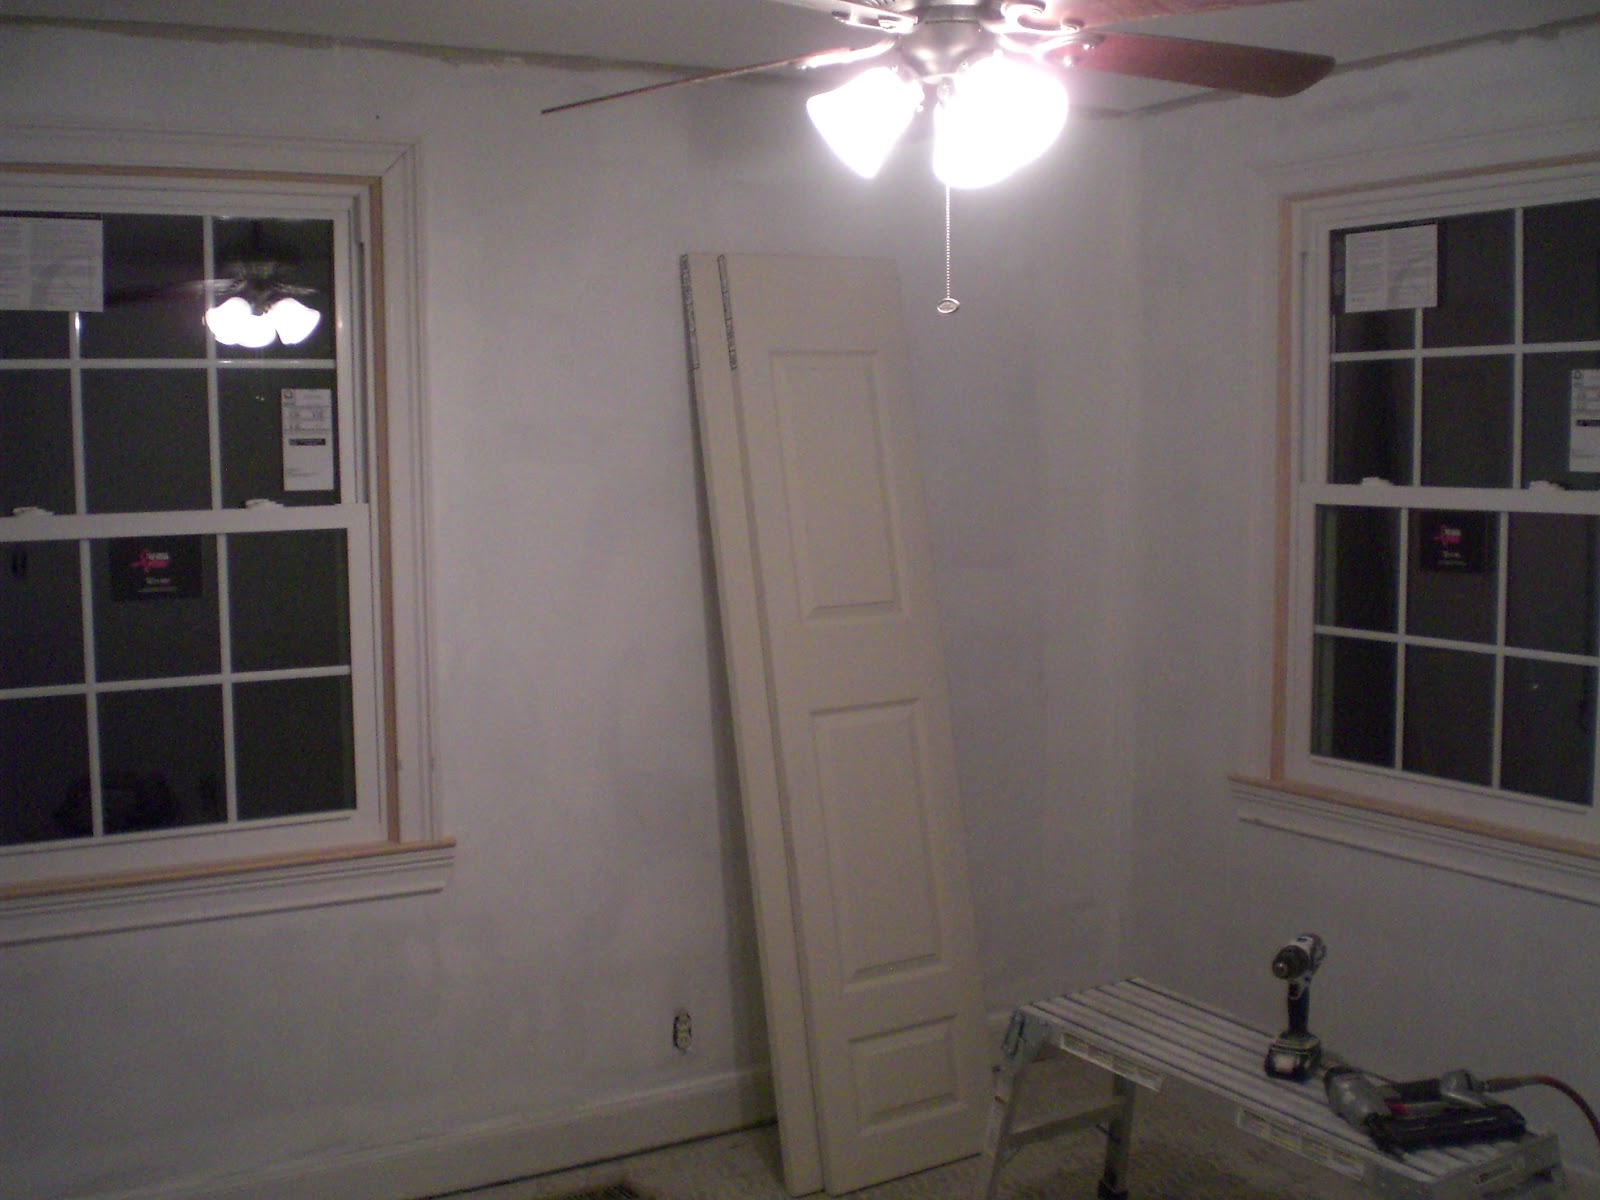
JM felt that the floors in the main bedroom were ready – and after putting some toe strips down, we swept the floor, closed the door to keep the other dust in the house out – and headed to our storage locker where we are keeping all of our furniture and things from the move (well, mainly all of MY things from the move) until we have more finished space in the house.  We had decided to pick up the bed, a couch on which I could study, the TV, and some extra things over which I poured over my inventory of boxes cataloged during the move – trying to decide upon “only that which is necessary” that would make the cut and with which I would get to be reunited.  The storage locker is about a 15 minute drive away, but it is climate controlled which is a necessity in the weather here (it’s supposed to 113 F on Thursday… yikes).  While at the storage locker, we heard music coming from one of the lockers all of sudden – which nearly scared me to death – but which JM explained is a result of the storage facility renting out spaces to local bands in which they can practice.  If not a sign of being in Music City – I do not know what is! So we were serenaded as we moved some belongings from the locker.

Once back, we carried in the bed which we immediately assembled – and then found that the couch fit perfectly in a little nook in the room. I unpacked and set things up while JM quickly ran out to get blinds for the room.  The master bedroom faces the street with its main window looking out onto the street.  And while hopefully being in the actual house will help block out the neighborhood cat fights that tend to occur late in the night, driving Bella crazy! – our gorgeous large new windows allow less than desirable exposure into the house when one is trying to get ready for bed.


It was pretty unbelievable – I decided not to let Bella immediately into the room until it was organized and the bed was made and things were somewhat settled, but once I moved her from the camper to the bedroom, she immediately jumped on the bed and closed her eyes to sleep.  I think she immediately recognized that the bed is also HER bed – and probably smelled like the home she has always known – and I just felt her relax in a way she has not seemed to do since we have been down here.  So the pictures of her on the bed really are not staged – they are her in her element and happy.
And I sit here – happy. The room is beautiful, the dust is at bay for now, and my clothes are hanging in a closet or folded in a proper dresser.  I can stop rotating just the handful of t-shirts that I have had to fill the days between laundromat runs. And while I do not doubt we will still use the camper a lot (it is still really our only kitchen, and I may still study at the table in there) – tonight we are technically OUT!

Monday, June 25, 2012

FUN MORNING PROJECT
Since I have some free time before my next coat of finish, I’d thought I’d show you a neat project I worked on this morning.  As you may have seen in previous pictures, we pulled the carpet off all of the floors and are planning to return them to finished oak- we worked on the bedrooms over the weekend and I need to put on one more coat of poly before the master bedroom is finished.  There were several large cutouts hidden under the carpet that we speculated that they were the original cold air returns.  Here is one of the two large ones in the hallway;

A couple weeks ago I tested out seaming one of the voids with wood pulled from the laundry room floor because it will eventually be tiled.  While this was successful, the process took a long time and I ended up being able to salvage only about 10% of what I extracted.  I sourced the same flooring from a local lumber distributor and made a trip out to pick up a bundle this morning.  Here is a step by step of the patching;
#1- I ripped out the plywood patch and pulled the existing filler pieces- the hole drops about 6' into the basement crawlspace.  Also, FYI, tan dress socks and worn out New Balance running shoes are required by Nashville Building Department code;
 #2- I needed to square the opening so I tacked in some 2x4 guides and rough cut the area with a circular saw.  After the majority of the wood was gone I backed off the guides ½” and cleaned it up with a router and chisel;


#3- I ripped some shims in various thicknesses to help level the new floor against the joists.  Finally I installed the new tongue and groove red oak flooring to fill the area.  Here is a shot after a little sanding to show you the transition;


In a week I will be sanding and staining the hallway floor so I am curious to see how it matches up!

Saturday, June 23, 2012


CALLING IN THE REINFORCEMENTS: PART II

As I mentioned in the background section of this blog, our initial timeline was pushed back by 2 weeks because of the drawn out closing process.  In addition, since the listing agent couldn’t manage to get any utilities connected in the 45 days of negotiating, I lost another week running around Nashville visiting water companies, waiting for electric, etc...  However due to the humbling support of friends & family, I am almost back on schedule!  My parents and sister came down for the weekend and I decided to focus their efforts on the living/dining room.  After getting into town late last night, we met at the house and headed to dinner at The Village Pub (our great local spot discovered last week by my girlfriends mother).  I started the day by installing the baseboards and window trim in the rooms- I am waiting on 2 windows so you’ll see the tan ones still in the dining room minus the stops.  Everyone joined me around 9:00am and immediately started priming and painting.  While I was aware of my mom & sisters painting abilities, I was genuinely surprised by the expert skill level that my girlfriend has inexplicably developed- today I saw her trim in crown moulding without tape on a 6’ step ladder while simultaneously checking emails on her phone- it was amazing.  In the meantime my dad and I finished up some trim work and sorted out some wiring issues in the laundry room and kitchen.  Here are some pictures at the start of the day and when we finished;


 We took a lunch break around 2:00 and then they proceeded with touch ups as my dad and I started sanding the floor in the master bedroom.  While the floors seem to be in decent condition, there is some kind of gummy adhesive that took a lot more effort to sand off than expected.  While we originally planned on completing both bedrooms we ended up getting only one room completely done.  Here are some shots of the floor before we started, the dust created in the middle of the sanding and the bare wood ready for staining;


Our goal for tomorrow is to stain the floor and install crown moulding in the living/dining room- if all goes as planned, we should be sleeping in an actual house by Tuesday night! 

Thursday, June 21, 2012


TWO DAYS OF CAULKING & THE SUPER GADGET
I realize that I haven’t posted in a couple of days but I was hoping to have some “after” shots of the bedrooms and hallways.  Unfortunately, it has taken a huge amount of time to finish the small details- trim inside closets, caulking baseboards, touch ups, etc...  We did take a major step yesterday by installing all of the crown moulding in the bedrooms and hallway and stayed up until almost midnight caulking/trimming them in to the walls/ceiling.  Here are some finished shots;


In preparation for the floor sanding this weekend, I started sanding the perimeter of the rooms with a hand sander.  I wanted to see a bigger area so I sanded the master closet by hand and wiped it down.  Here are the natural floors although we will be staining them darker;


Also, I wanted to recommend one of the greatest tools ever invented- the Bosch digital measuring tool.  One of my biggest challenges as I work alone is to simply have someone to hold the other end of the tape measure!  I picked up this tool over the weekend and I’m amazed at how insanely accurate it is- I measured all of the crown moulding including outside miters alone with this tool.  For those who may be unfamiliar with this type of device, it is about the size of a cell phone and shoots a laser to the end point of your measurement.  It is extraordinarily user friendly and I am just starting to scratch the surface on its capabilities outside of simple linear measurements.  I would highly recommend this $ 99 tool to anyone who works alone, wants more accurate measurements or simply can’t read a tape measure!  Here is a link;

Monday, June 18, 2012


CALLING IN THE REINFORCEMENTS

My girlfriend made her relocation to Nashville over the weekend and her parents followed her to help with the move.  After a visit to the storage locker on Sunday, I figured that they would want to just relax and explore the city before heading North on Tuesday.  I was very wrong- they came to work!  My girlfriend and her parents immediately descended on the jungle that was overtaking the backyard and front porch.  After pulling weeds and exposing the front railing, her mom took a trip to Home Depot to pick up a tree limb saw that is scarier than any power tool I have in the house.  They moved on to cutting brush, pulling vines, dropping trees, blowing up damns, etc. until they ran out of space in the driveway and dumpster to pile the waste.  Here are some pictures of the cleared front deck and the backyard carnage;


We continued this pace on Monday as we focused on finishing the bedrooms & hallway.  While I finished some trim work in the bedrooms, my girlfriend and her parents put a finish coat on ALL of the interior doors which had been removed during the first weekend.  They had a great system going with her parents finishing the exterior on sawhorses and my girlfriend finishing the interior on the floor.  Here is a picture of the paint line in motion and the result;


After taking a short break in the afternoon, we decided to finish off the painting in the guest bedroom.  We returned to the "assembly line" model with my girlfriend on the roller, her mom on the trim brush and her dad bouncing between moving ladders, catching paint runs and pulling masking tape.  We ended up painting the entire room including 2 windows, 2 doors and a new closet in under an hour!  Here is the result;


Lastly, as a bonus, her mom discovered an amazing pub within walking distance from our house!  It is a cool bar/grille in a restored house that specializes in Tennessee whiskies and micro brews.  Also, their menu is distinctly German which means my dad will love this place!  Here is a link;
http://www.nashvillescene.com/bites/archives/2010/04/23/check-out-the-menu-for-brand-new-village-pub-in-east-nashville

Sunday, June 17, 2012


VISTING THE “SECOND FLOOR”

Before we get to the “second floor” I’d like to fill you in on my work over the last few days- sanding & caulking.  From patching over water damage to installing new outside corners to recaulking baseboards, there is A LOT of simple prep work in this house!  Also, I am curious to know what was being hung on the walls when the house was occupied because I have filled 7,254 nail holes at every height in every room.  Other than that, all of the casing is up in the bedrooms and we hung the fans to finally get them off the floor;


I realize these photos look exactly like the previous photos with the exception of a ceiling fan however we made a lot of progress on small details that have to be completed before painting.  One bright spot is that the ceilings are completely done and came out perfectly;

As you may or may not know, this house has a “second floor”.  When we looked at the listing sheet it mentioned the second floor as “great for lounging and relaxing”.  After my initial visit I immediately realized why the area was great for lounging- the ceiling is 5’9” at its tallest point! 


 While this area is odd in and of itself, the strangest part is that they spent a ton of money and effort to make it quasi-usable.  If you notice in the pictures, they have multiple HVAC vents, cable, phone, 6 outlets, trim, carpet and an expensive half round window that you have to crawl to reach.  In the process, they eliminated the original master bedroom closet and cut the size of the guest closet in half to build the scary stairway upstairs.  It was obvious from the carpet that the pets were using the space however I am not sure what else you can do with it.  My initial reaction was to cover up the doorway and forget about it however I have heard ideas ranging from a dedicated storage area to creating a dormer to make it a master suite.  Being that time and money are key points, what do you think we should do with this space?    
Also, on a side note, I found another layer of linoleum under the kitchen floor.  While this is not out of the ordinary, it was surprising to find that it was being held in place by 10 staples in the corners of the room- I tugged at the corners and simply rolled it up to throw away;


 Tomorrow’s agenda will be painting the bedrooms and finally some good pictures!