Monday, February 11, 2013


NASHVEGAS II: BEFORE & AFTERS

So our second house is Nashville was a bit more of a struggle therefore I hope you forgive me for the lack of postings!   Since everyone loves the “before & afters” most, here they are;

KITCHEN
BEFORE


AFTER


BATHROOM
BEFORE


AFTER


LIVING ROOM
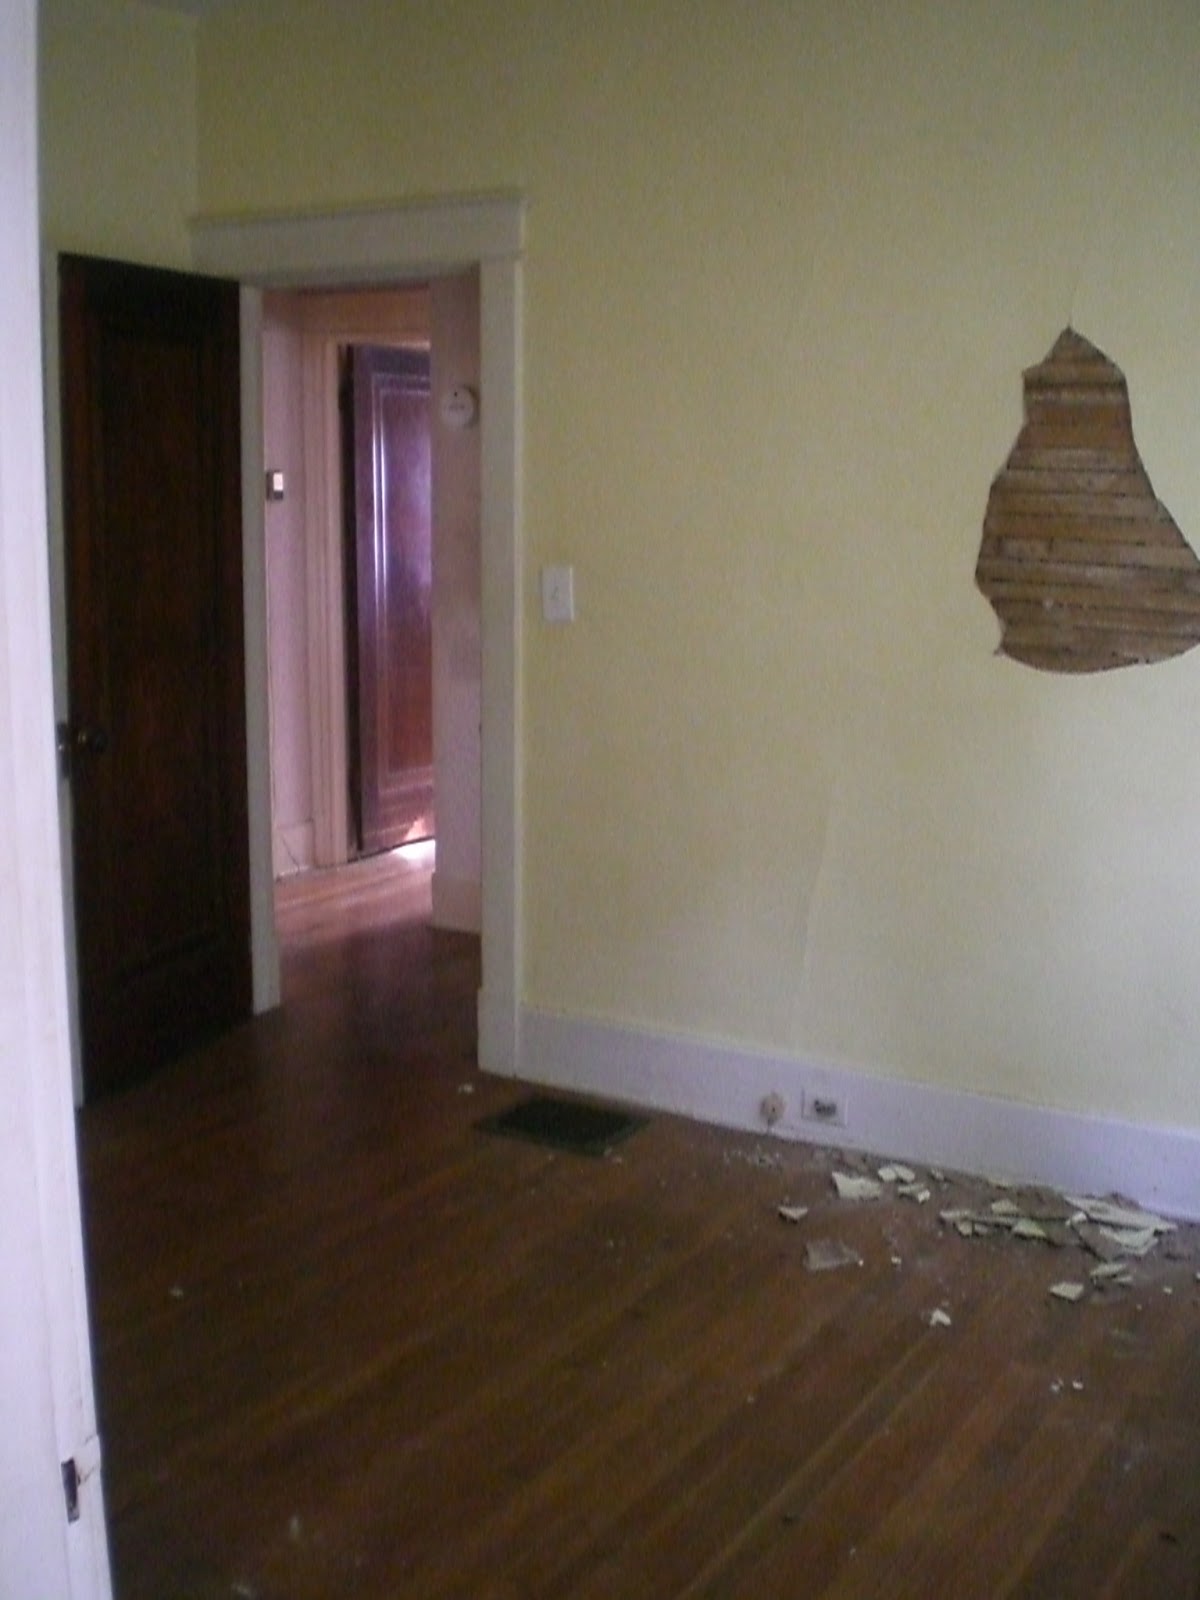
BEFORE


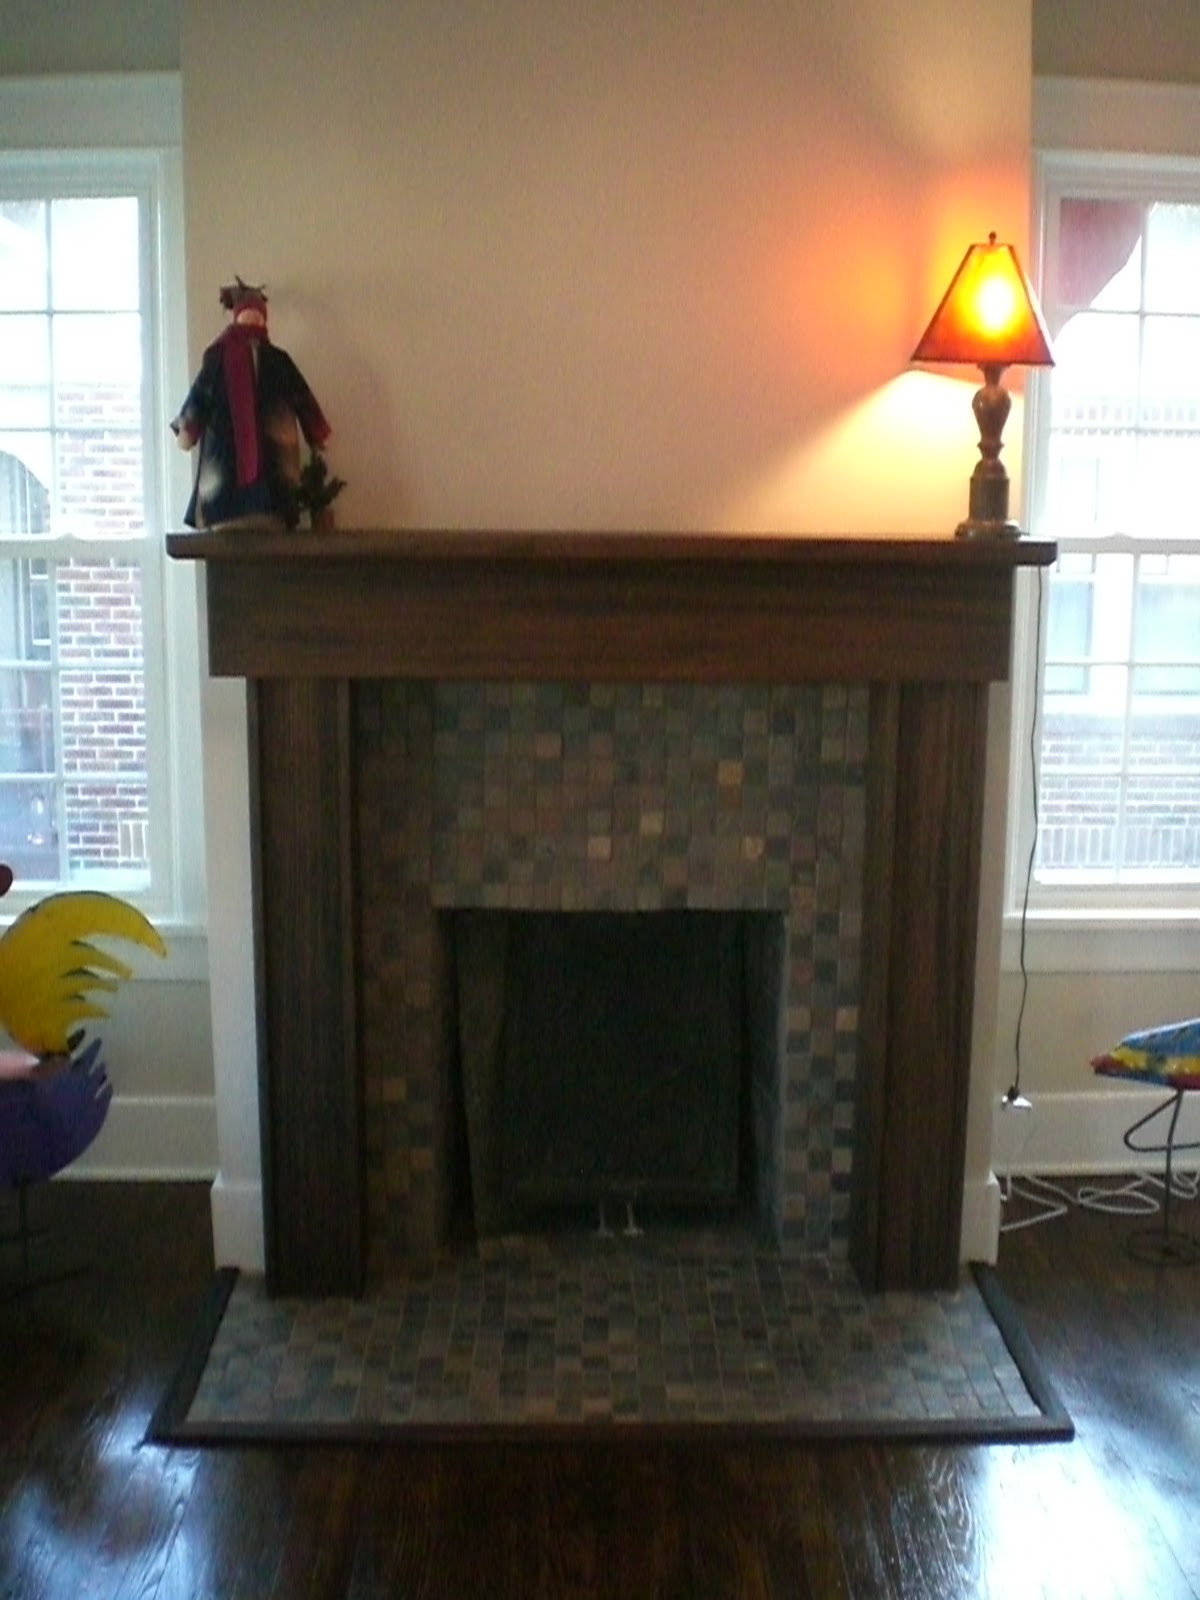
 AFTER


DINING ROOM
BEFORE


 AFTER


MASTER BEDROOM
BEFORE


AFTER


GUEST BEDROOM
BEFORE


AFTER


MUD ROOM
BEFORE

 AFTER

BASEMENT
*** NOTE- There are NO “before” pictures of the basement- there was nothing to take a picture of outside of rock/dirt and an old coal bin door.  This space was literally a dirt hole with tree trunk supports holding up the 1st floor of the house- they built the house and then dug out this cellar with pick axes (you can still see the marks).  There were no walls in the basement, no plumbing, no lights, no plugs, etc. - we basically created a room inside of the rock to make space for a laundry room.  Compounding the above obstacles was the fact that the room is roughly 7’x7’ with a poured sloped floor- nothing was even close to square/plumb/level and the simple act of moving tools or cutting 2x4’s required planning.  Lastly, all of our plumbing/electrical connections were in the crawl space area which required crawling on your back and working upside down in about 16” of space.   This was by far the most difficult project I have ever attempted- not only were we creating a “room” with absolutely no frame of reference, we had to add electric & plumbing IN ADDITION to a vertically pumped drainage system for the stationary tub/washing machine (pushing water uphill to flow back down into the bathroom drains).  Everything works perfectly and looks finished. This room is by far my favorite area of the house.   


Tuesday, December 18, 2012


KITCHEN DONE, MOVING ON TO BATHROOM

The kitchen has been completed and we put up our first Christmas tree over the weekend.  Here are some pictures;


 While the butcher block serves as a great countertop currently, we decided that granite was necessary at our hopeful price point and it will be installed next week.

I spent the last week refinishing the floors in the front half of the house and rebuilding the fireplace in the living room.  Here is a “work in progress” series of pictures that show the fireplace being built- you can also see before and afters of the floor in the front area of the shots;


We also finished off the rest of the windows and the house is about 50% painted.  The painters spent a few days block filling the brick, primed everything in a tan color, ran all of the soffits/vinyl in white and put one coat of finish on the brick.  I am hoping the weather cooperates and they finish this week- we still need another coat of brick finish, a darker color on the foundation & porch and all of the windows need to be cut in;


I am hopefully going to start the bathroom demo today and I figure the renovation should take about a week.  After the bathroom we are hoping to move on to the basement/laundry room unless the weather is beautiful and I have an opportunity to put up the back deck.

Tuesday, December 4, 2012


KITCHEN 92% COMPLETE

We accomplished all of our goals over the weekend- the kitchen floor is tiled & grouted, built in doors are on and we now have a sink/disposal.  In addition, all of the appliances were delivered today and I spent the majority of my time connecting the dishwasher, installing the ice maker, etc...  Here are some pictures at the end of the day- please note that the back door will eventually be replaced and the front area will hold a pub table & chairs;


I will be painting the trim and installing shoe moulding along the kick plates tomorrow.  One major point that is currently being debated relates to the countertop.  I installed the butcher block as a “nice” temporary surface until the granite is installed.  However, after a few coats of wax, the “temporary” fix is starting to look really great!  Here is a closer shot of the counter (without edge trim) - please let me know what you think because I have about 5 days to cancel the granite order;


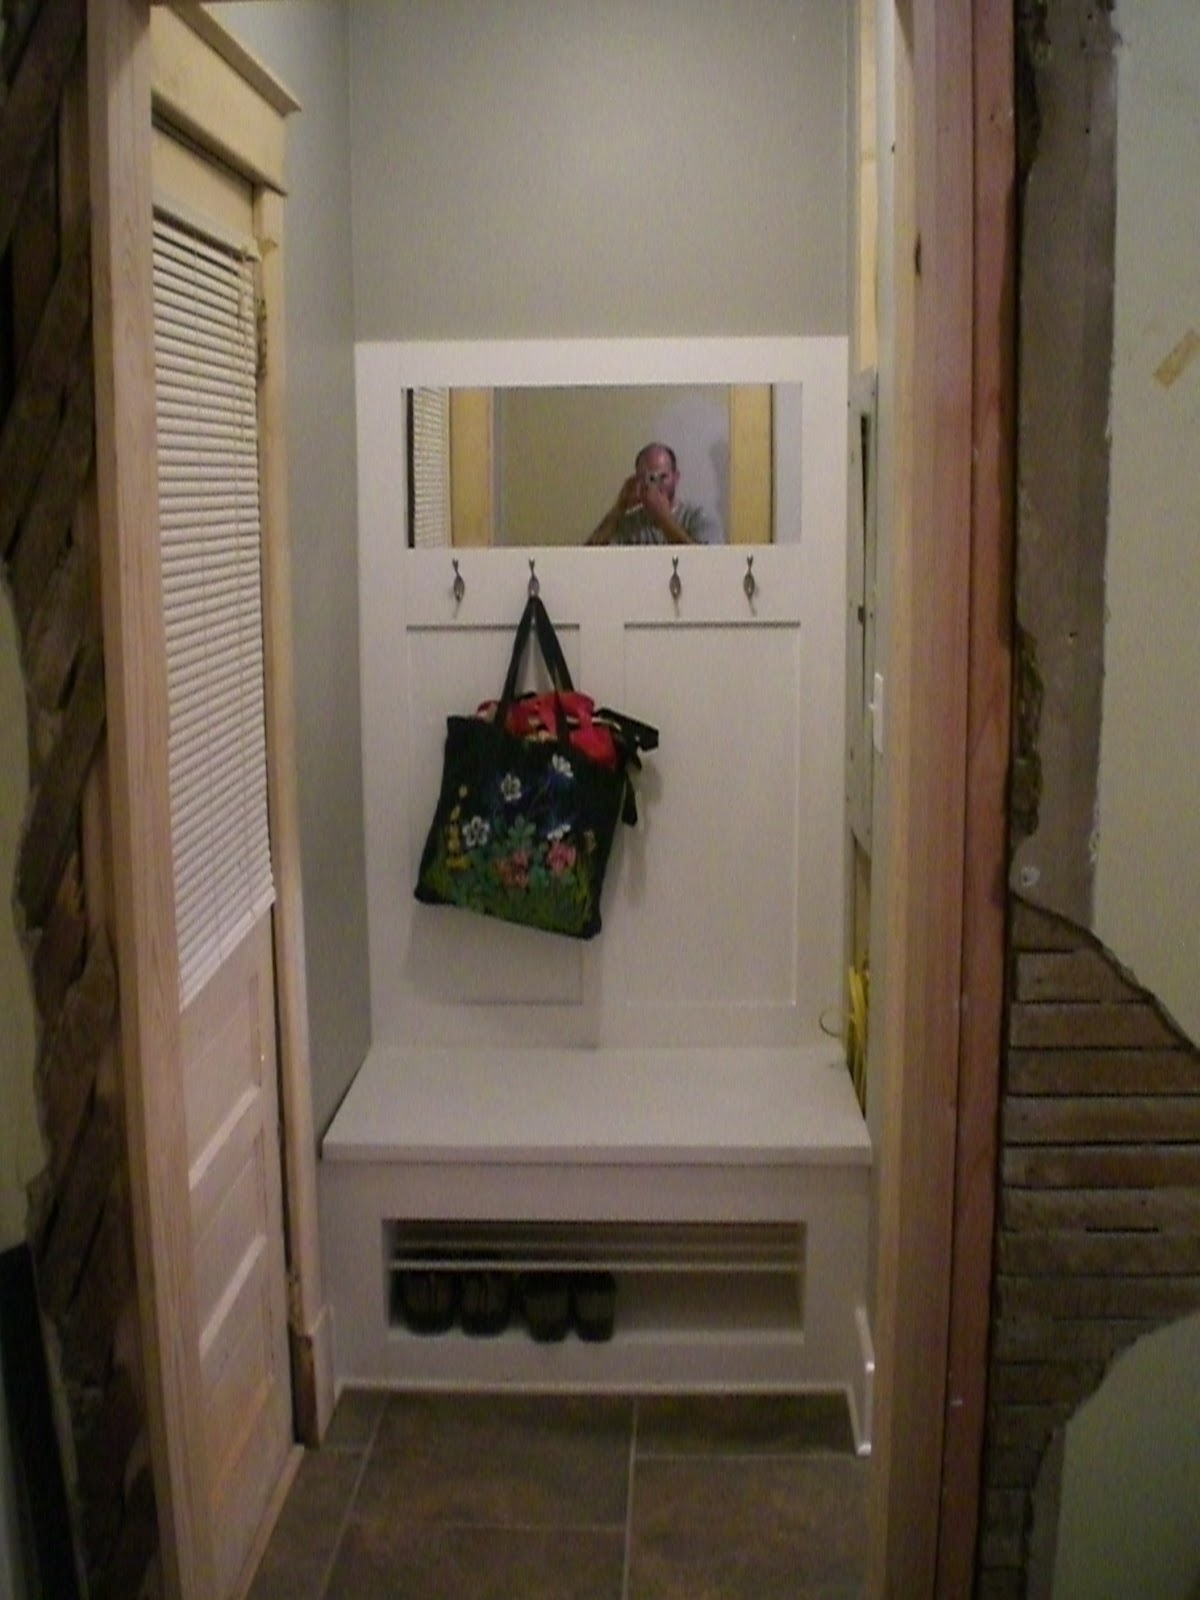
 I have also spent some time in the “mud room” which is the area at the back end of the kitchen as you exit the back door.   Originally I planned to locate a stackable washer/dryer in this area but it just seemed too tight as I rehabbed the space.  I decided to use the space for coats/shoes/etc. and built a rack/bench modeled after an Arts & Crafts entry door.  Here are a few shots as the project progressed- I still need to add a shelf with corbels across the top;


Exterior work will continue tomorrow with new gutters being installed and the first coat of paint going on the brick.  I will be moving on to the fireplace demo and hopefully a new façade by the end of the week.

Friday, November 30, 2012


 FINALLY A NEW POST!
  
When I left off at the beginning of the month I had just finished gutting the kitchen and roughing in the new electric.  Over the last 20 days we have progressed to about 80% completion in the kitchen.  Here are some photos of the work leading up to today;

Here are the original pictures from last month;


Here is where we left off when I last posted.  At this point we had stripped all of the walls and ran all off the wiring for the eventual kitchen layout;


 Since the kitchen is so narrow, it was impossible to put cabinets/counters on both sides of the wall.  As mentioned in previous posts, we decided to bring out the interior wall 6” and build cabinets into the new wall and existing stud space- I actually recessed the far left cabinet 24” into the new closet in the guest bedroom however it may be too difficult to explain on the blog.  Here is a shot of the new studs to receive the cabinets- notice the stripped existing wall in the background;


 This was my temporary “cabinet factory” for the day;


 Here is one of the carcasses before setting;


 After setting the cabinets we drywalled the kitchen.  Here are some photos.  While it may be difficult to see, notice the exposed 2x4s in the middle of the ceiling- they will be a point of reference for the next pictures;


The plate I mentioned above was left from the wall that divided the kitchen from the breakfast nook.  I decided not to take it down because it would have left a nasty seam if I tried to patch the transition in the plaster ceiling.  We decided to put up a faux beam to cover the plate and, after discussion, decided to continue the pattern to create a coffered ceiling.  Here is how it turned out before paint;


 Here is the ceiling after paint and light trim;


We spent the past weekend installing the cabinets, painting the kitchen and putting down the backerboard for tile.  Note that the butcher block is temporary until the granite countertops cme in next week.  We will be hanging the built in doors, tiling the kitchen floor and hooking up the sink this weekend.  We are hoping to have appliances delivered on Tuesday and start using the space by the end of the week.  Here is where we are at as of today;


There has been much more work done around the house over the last month so I plan to go through each room in REGULAR future posts!