Showing posts with label BATHROOM. Show all posts

Thursday, September 6, 2012


PROJECT NASHVEGAS IS ON THE MARKET!

The house officially went on the market today.  Here is the link;

http://listings.realtracs.com/Reports/EmailPublicReports.aspx?EmailID=50179132&reportid=3


FYI- There is a "Photos" entry near the top of the page under the list price that has a camera icon next to it- click the camera and it will open a page of professional shots.

Friday, August 3, 2012

FINALLY A REAL UPDATE!

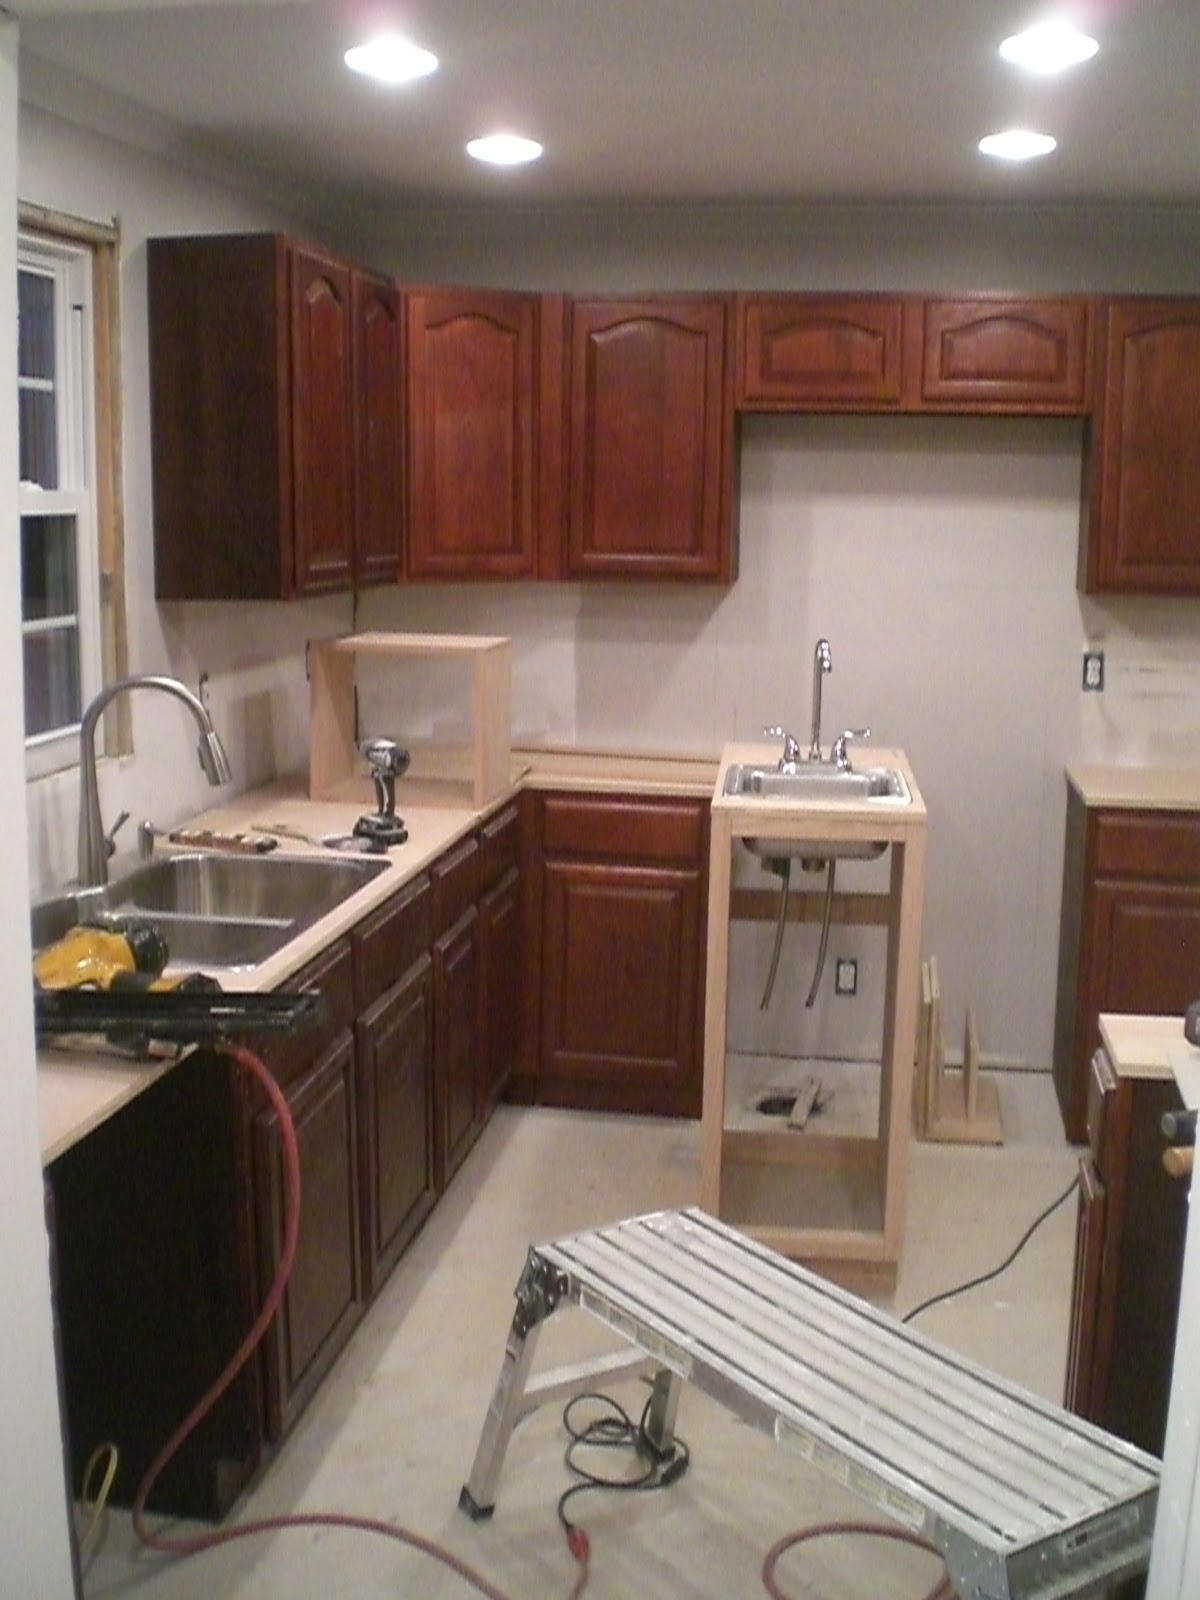
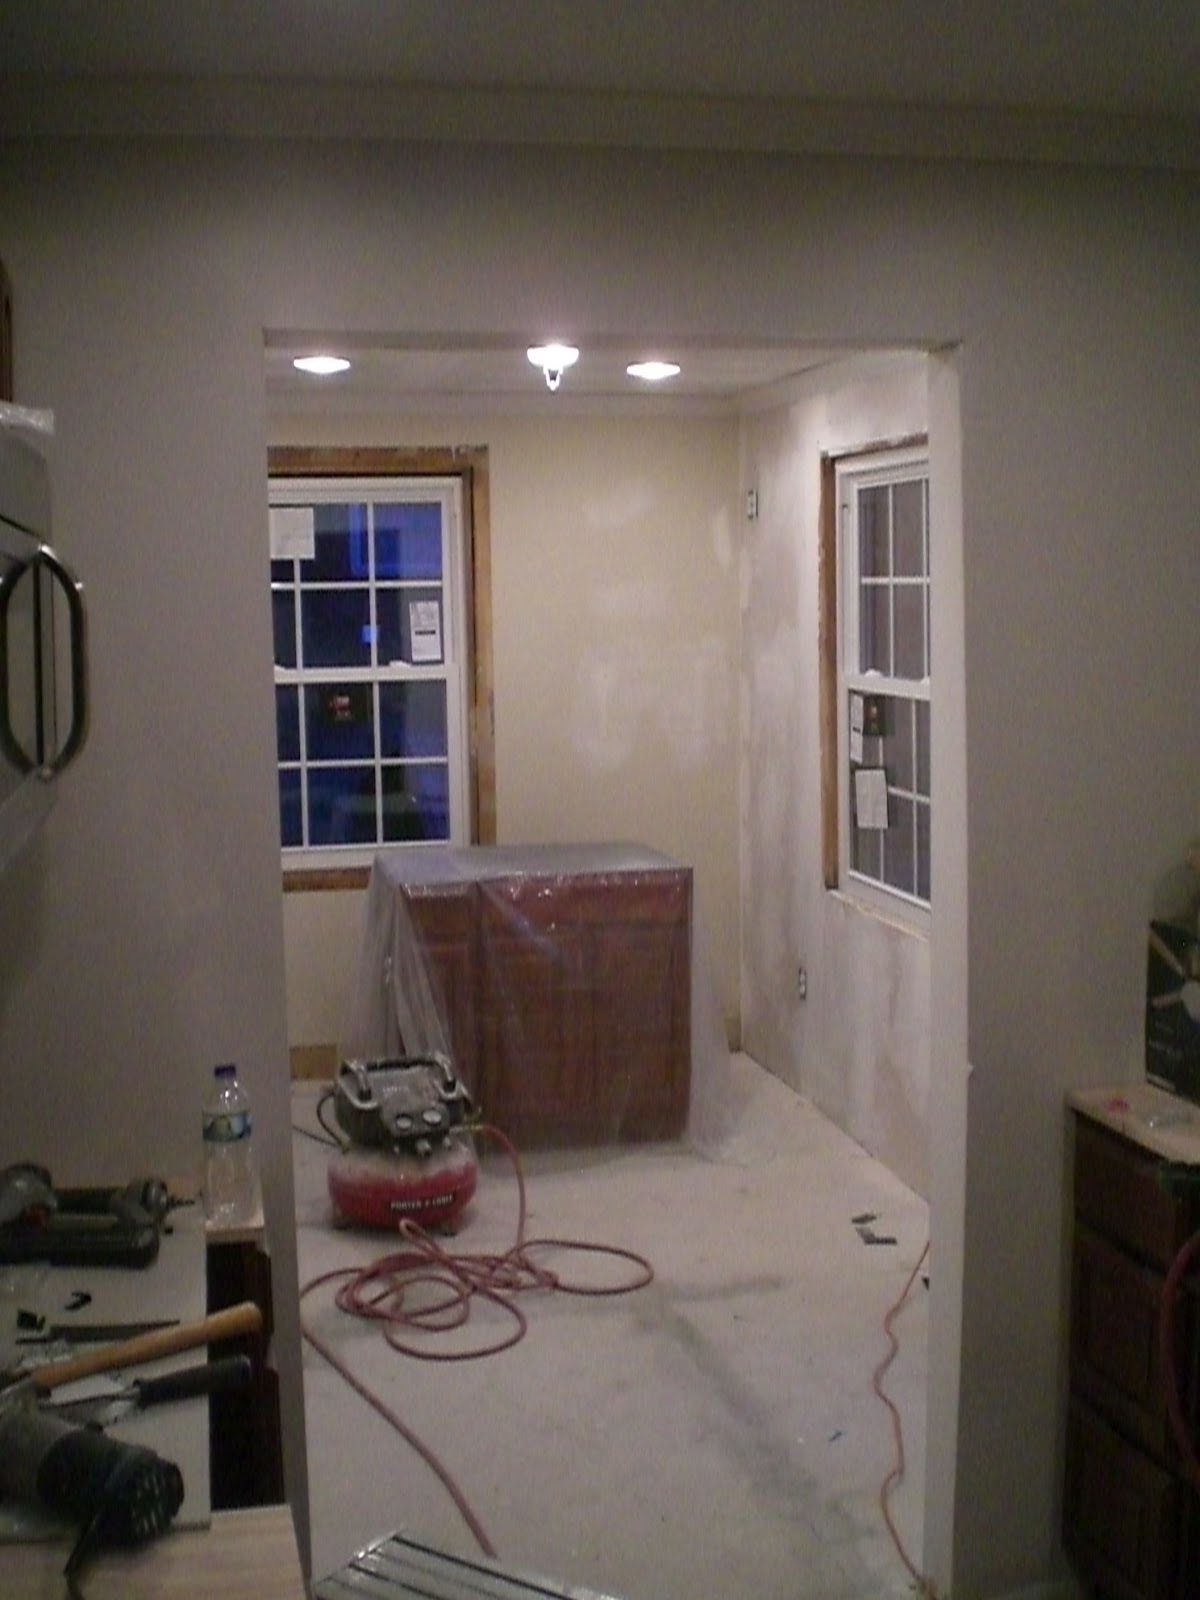
The kitchen is about 80% complete although the remaining 20% will consist of installed countertops and delivered appliances.  Just to refresh everyone’s memory, here are some initial photos of the space followed by some “work in progress” pictures over the last few weeks and the current ones at the end;


The appliances will be delivered on Monday (stainless steel Frigidaire) and the countertops will be installed during the middle of next week (Ubatuba granite).  I will be spending a day this week completing small touchups in the space and installing a TV on the far wall of the laundry room- you’ll notice that we ran cable and electric near the ceiling because this feature was a huge hit when we added it to my sisters kitchen remodel last year.  Also, in the previous post I mentioned the random sink & cabinet that was sitting in the middle of the kitchen- I built this cabinet to go in between the washer & dryer.  Since space is so tight in the new laundry closet, I needed to custom make a cabinet and found a sink that would work with the footprint.  The cabinet came out perfectly however I found out that I used the wrong height measurement off the appliance manufacturer’s website so I now need to take it apart and cut it down about 6 inches!

I am REALLY happy with how the kitchen is turning out- I have to look at old pictures just to remember how small and outdated it looked when we started the project.  Every decision regarding this aspect of the project has been a group effort- from my decision to add the laundry closet to my dad’s cabinet layout to CC’s decorative choices on tile & paint- even YOUR blog poll decision to enlarge the doorway- it is turning out better than I expected.  The “laundry room” probably surprises me most because it was a giant waste of space when we moved in and I can see it now becoming the main congregation point of the house.  I also second guessed myself on taking out that window above the old sink but, with all of the new lightning and the open floor plan, I now forget that it was ever even there!

Most of the remaining flooring sanded out better than the master bedroom.  In addition, the new patches that we installed should match up really well once everything is stained.  The one area of concern continues to be the dining room- there was some kind of vinyl tile installed under the carpet and we had to sand & scrape almost all of it up by hand.  While the tile eventually came up, it left behind noticeable hexagonal outlines that may stand out once we apply the finish.  I hope to stain later this week and I will have a giant area rug on hand as a contingency!  Here is a picture- the giant dog came with the house and refuses to leave;


We tied up some loose ends in the bathroom by grouting the floor, putting down the toe strips, installing a mirror and completing some painting/staining touchups.  Here are some updated pictures;


Not much has been done in the guest room since it is pretty much completed except for staining the floors- my dad put a coat of poly on the built in and we finally hung a door;


As mentioned in the previous post, we decided to paint the existing siding.  While this decision saved us some money, the main motivation was based on the fact that there are asbestos shingles underneath the vinyl and we did not want to deal with city inspectors, EPA storm troopers, etc. if someone drove by while the exterior was exposed.  I had never heard of vinyl siding being painted however a neighborhood painter/handyman assured me that it could be done.  It turned out great and allowed us to go with a color that is much darker than anything we could have achieved with standard (affordable) vinyl siding.  I forgot to take finished pictures during the daylight so here is the same shots taken while the painters were working;


Also, we decided to keep the front door.  Since EVERYONE who visited the house commented on the existing door, my dad & I sanded it down, stained it to match the floors and put on about 25 coats of high gloss poly.  Here are some pictures although it looks 100x better in the daylight;


Here are the new art deco vents that CC picked out- the picture is one on tile however we are using the same ones on the hardwood;


My parents spent some time turning the basement crawl space into a functional workshop.  We relocated the old kitchen cabinets and the makeshift dining room shelf into the space and moved all of our tool/supplies downstairs.  My dad put in lights and my mom painted the block to make it usable- I currently have my router table and saws taking up most of the floor space so I will post some pictures once everything is cleaned up. 

Lastly, here is what a daily “task list” looks like at Project NashVegas;


Needless to say, we are entering the home stretch!  I plan to spend the next week staining the floors, taking care of touchups, painting/finishing that weird 2nd floor area and installing new floor boards to the deck & front porch.  We have a landscaper coming on Monday to clean up the backyard and CC plans to plant flowers, bushes, etc. over the course of the next week.  While I won’t be able to hit my 06 August goal, we should have the house done by the middle of the month. 

Sunday, July 8, 2012

WRAPPING UP THE WEEK

Sunday was somewhat of an off day for Project NashVegas.  My dad left town around noon after spending the week helping me complete the bathroom.  We spent the morning doing some finish work including installing the doors and applying a coat of poly to the bathroom built in;


After my dad left I spent the afternoon running around returning supplies, getting a haircut, checking email, etc..  At the end of the day I started work on the guest bedroom built in dresser and completed the carcass before calling it a night.  If you remember from the first blog posts, at some point in time the owners added a stairway to the second floor which cut down the original guest room closet in half.  Here are some before pictures;


Even though I built a new walk-in closet in the room weeks ago, I didn’t want to waste the space so I decided to add some drawers in place of the old half closet.  As I said, I just started tonight so here is a picture of the frame- note that you will never see any of this after the 4 drawers are installed and I fill in the top;

I plan to start the week with a some last bathroom touchups while my girlfriend is at work. After these are completed I intend to start gutting the kitchen in preparation for my dad’s next visit this weekend- he is an electrical wizard so I’d like to have everything exposed so he can help me run all of the new plugs, switches, lights, etc. before we close up the walls.  I will continue to work on the small outstanding items in the other rooms during downtime and we are planning to refinish the rest of the floors the weekend of 27 July (my girlfriend will be out of town for 5 days).  Hopefully we will be done with the interior by the end of the month!

Friday, July 6, 2012


ALMOST OUT OF THE BATHROOM: 92.5% COMPLETED

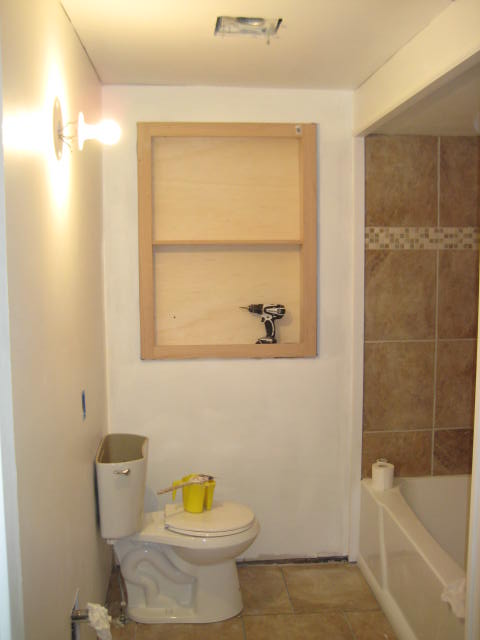
I waited a day to post because I wanted to show some cool “after” pictures of the bathroom.  We spent today getting around to the finish work- we started the day by priming, continued on to moulding, spent the afternoon caulking and finish painting and ended the day by installing the sink & accessories.  Here are some shots as the day progressed;


There are a few items that will need to be wrapped up tomorrow, the most visible being the built in medicine cabinet on the far wall.  As you may have seen in previous posts, there was a built in already installed however it was in poor condition after being repainted and readjusted over the years.  We took out the cabinet and decided to build a new one that utilized the space in a more functional, decorative manner.  We built the carcass out of oak using the same shelf pin idea as the bathroom linen closet discussed in the previous post.  We built paneled doors and, instead of using oak, we are dropping in frosted glass to give it a different look.  Here are some shots of the cabinet and the doors without the glass- the wood will be eventually stained cherry to match the vanity;


Here are some before and after's of the bathroom so far for reference;


Tomorrow we will be doing some caulking/painting touchups, installing a few more accessories (TP holder, mirror, etc.) and grouting the floor at the very end of the day so it can setup overnight.  While the bathroom is completely functional right now, we should be totally out of the room by noon tomorrow.  If we finish with the bathroom at a reasonable time, we plan to start on the kitchen by cutting out half of the dining room wall to create a giant 6’ doorway!